
Getting Out of a Tough Spot...
The enjoyment and freedom of off-roading your Ariel Nomad is often overshadowed by the realization you're miles away from civilization and AAA doesn't service fire roads, forest trails, or sandy dunes...

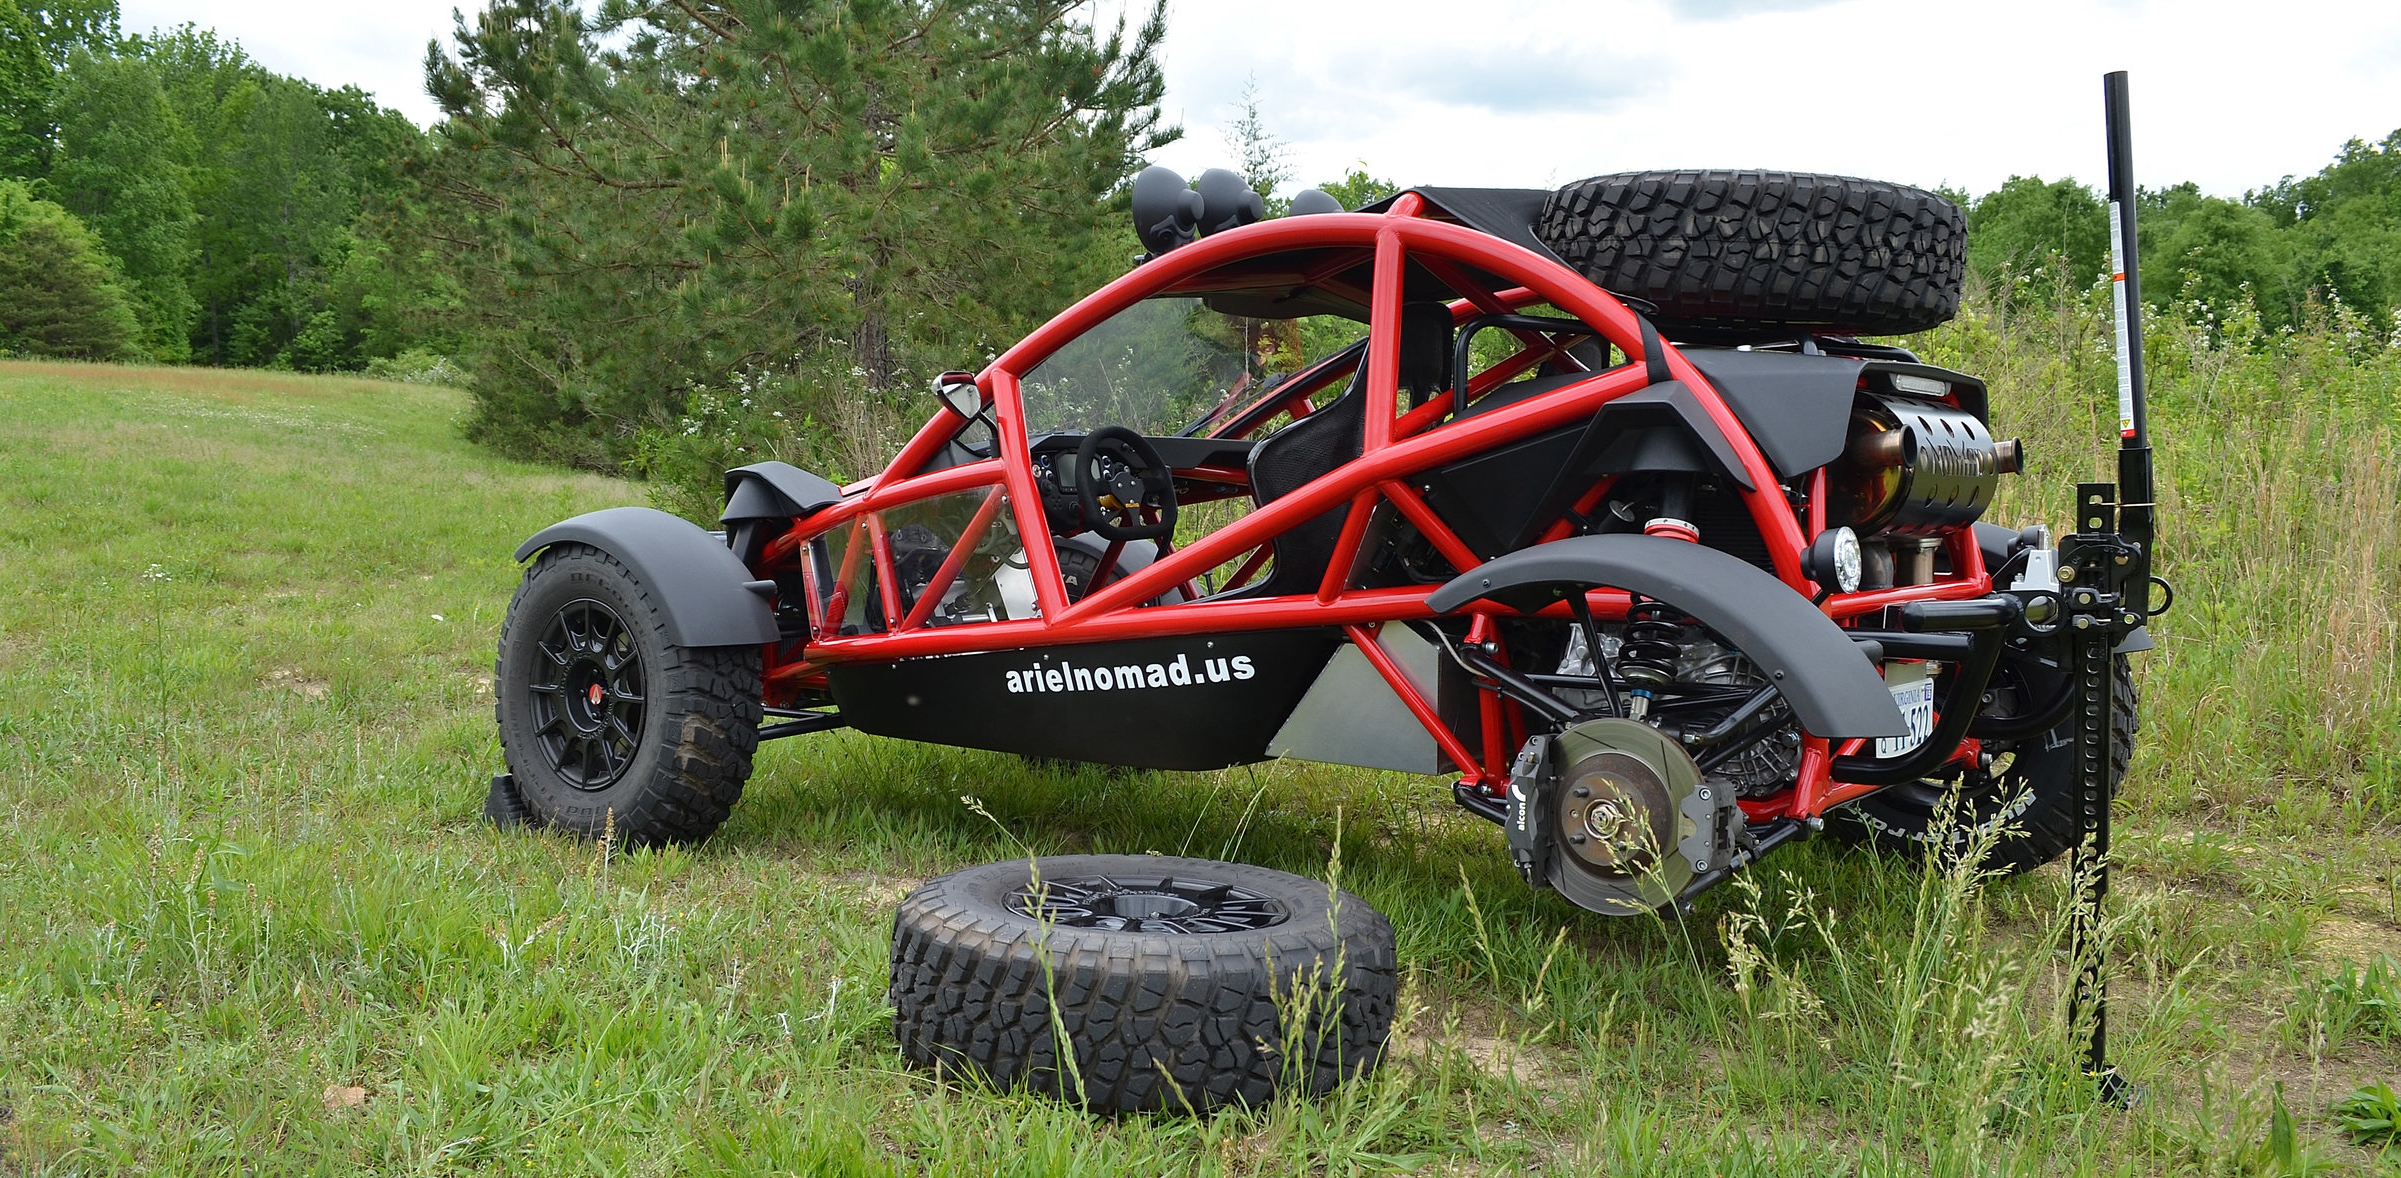
Enter the new Hi-Lift jack option for the Ariel Nomad. Anyone who has been hardcore off-roading knows that your rig is not fully prepped without an Hi-Lift jack and its seemingly endless uses are outlined here.
Ariel Nomad Hi-Lift Jack Usage and Procedure
*Follow all safety procedures listed in the Hi-Lift manual*

1: Ensure you're in a safe location and locate jack on rear bumper of an equipped Ariel Nomad:

2: Chock tires and insure car will not roll in any direction when vehicle is lifted:

3: Remove hold downs and remove jack.

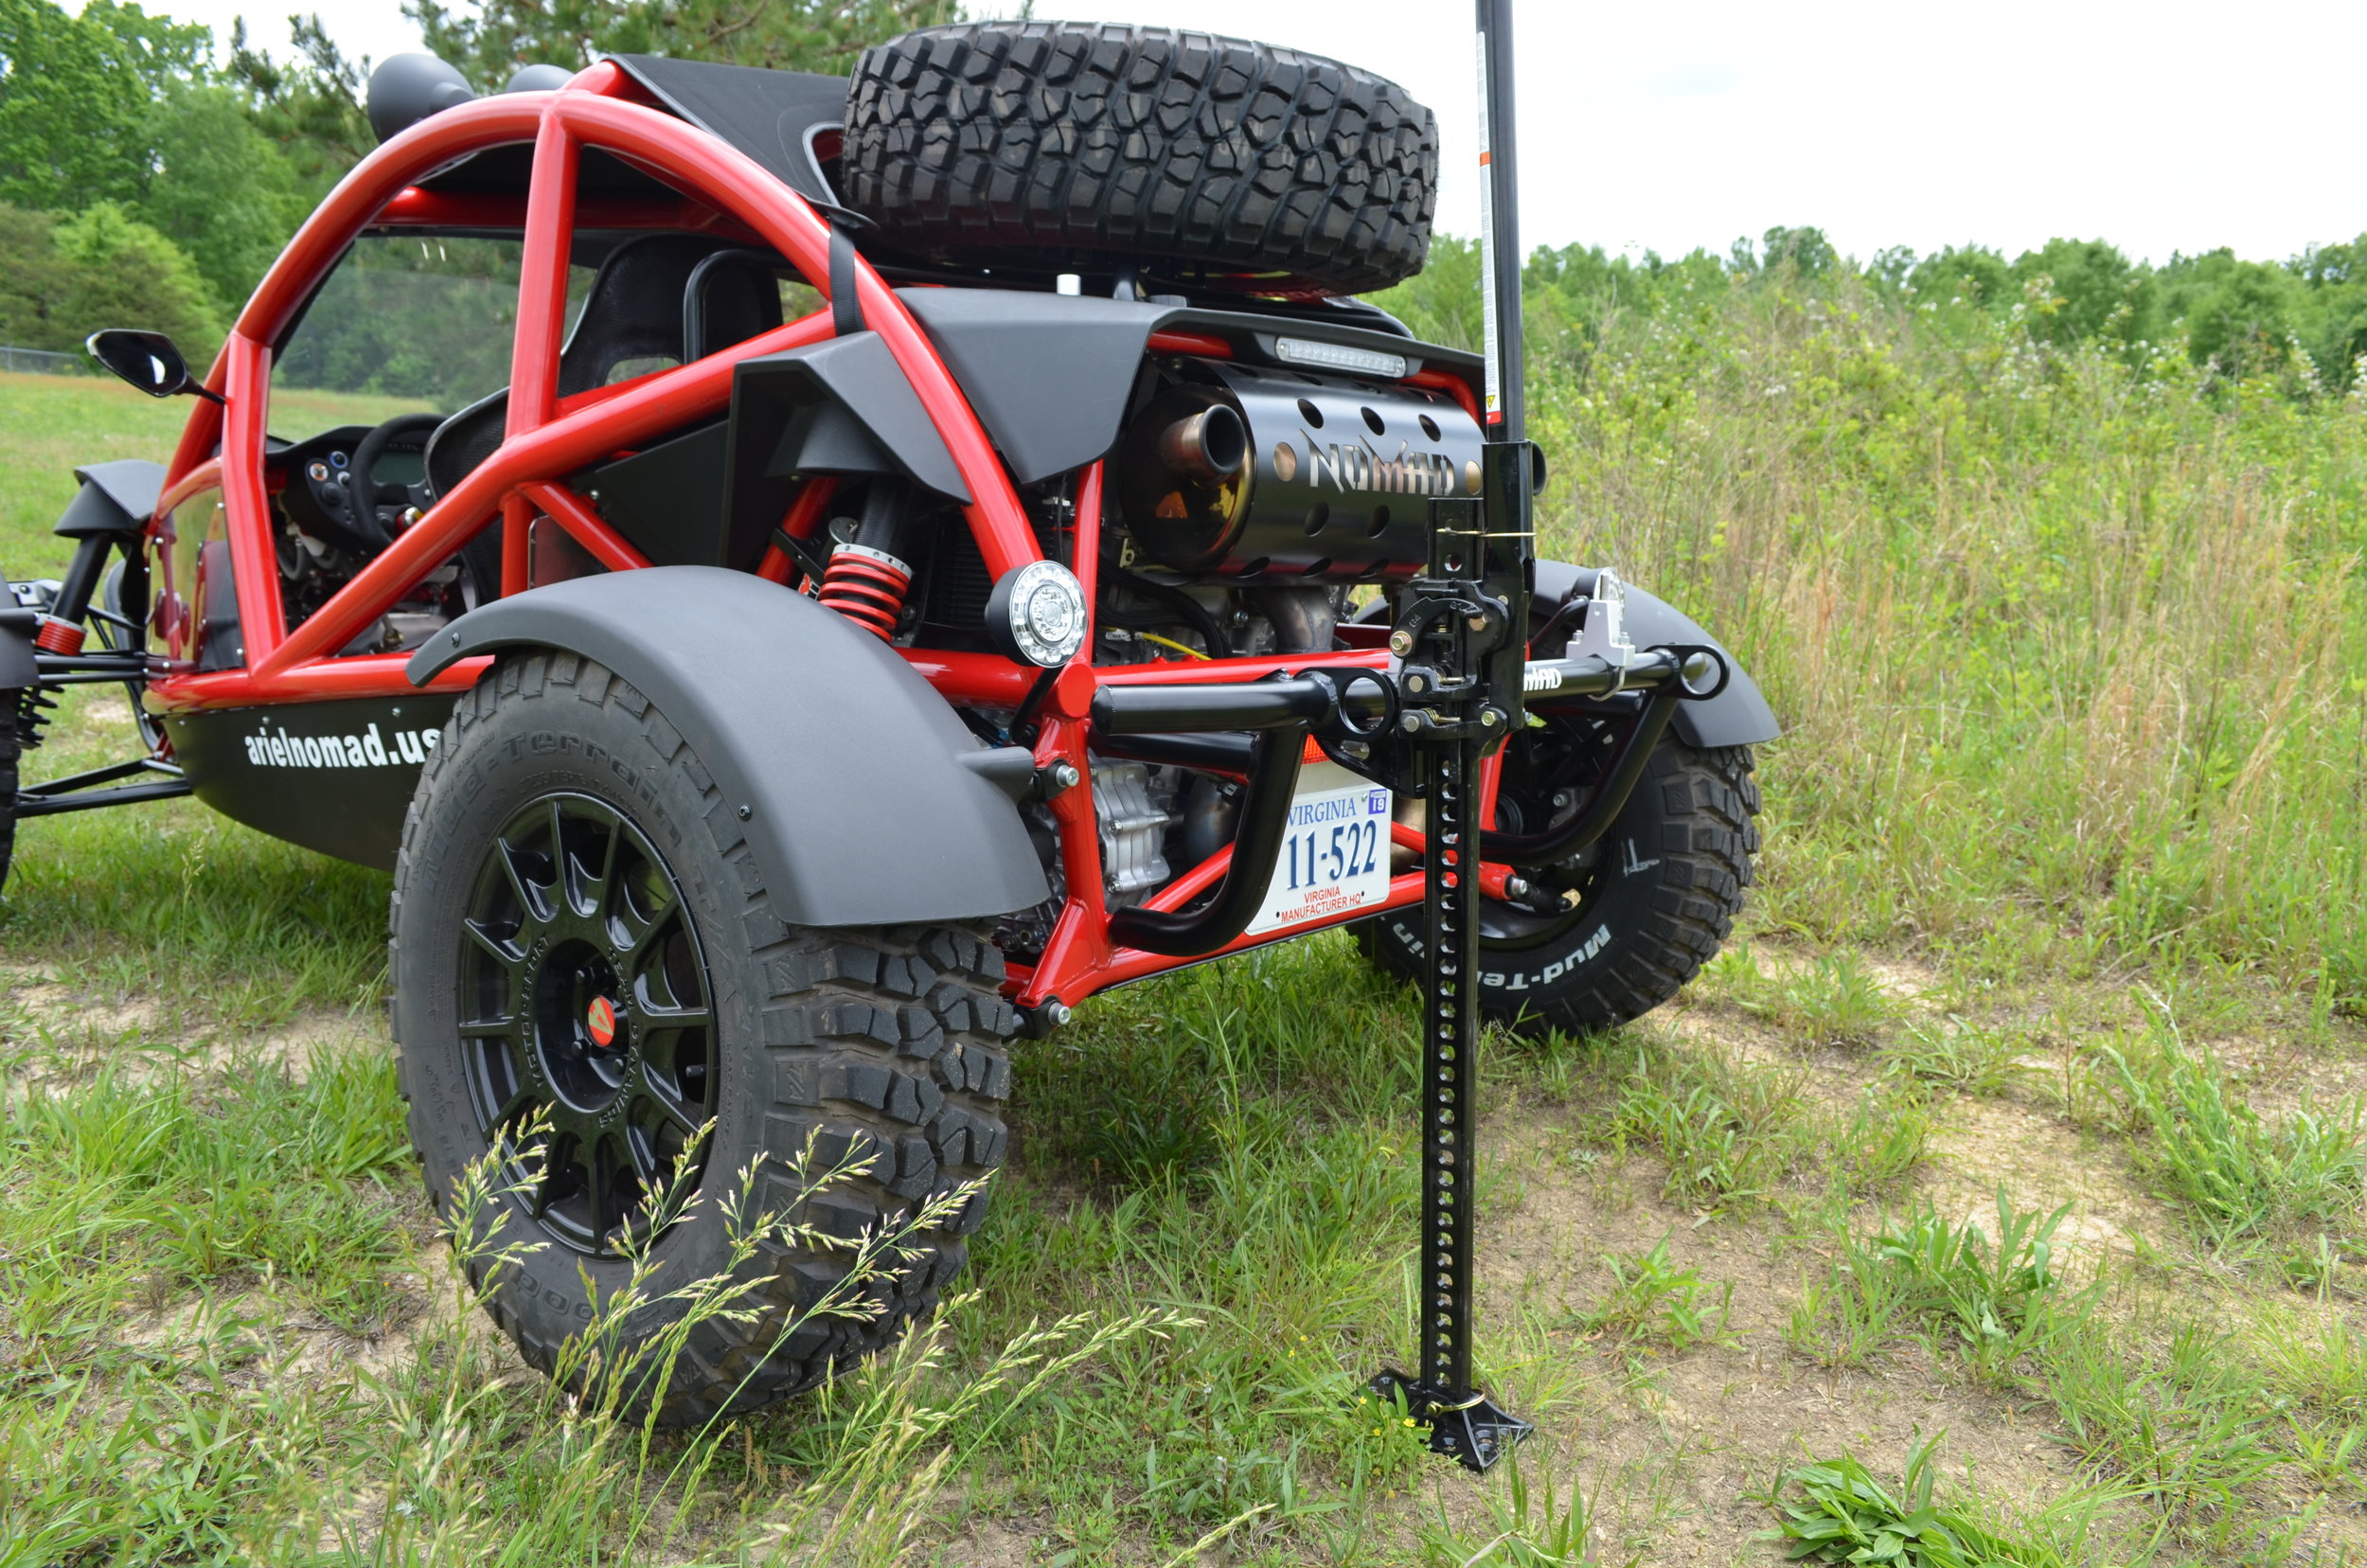
3: Using an appropriate jacking location (front and rear bumpers work best) raise vehicle.

4: Perform repair and reverse instructions to get back to having fun with your Ariel Nomad.